


Spring Loading Dock Preventive Maintenance Guide
Here’s something dock managers learn the hard way: the equipment that failed in July usually started showing signs of trouble in March. Winter doesn’t destroy loading dock equipment all at once — it just softens it up. Road salt works into hinges. Meltwater pools in leveler pits. Rubber that was already aging gets brittle. By the time spring arrives, you’ve got a dock full of equipment that looks fine until it doesn’t.
That’s why a spring walkthrough isn’t optional. It’s the window between “we caught it early” and “we’re down a dock position for three days waiting on a part.”
This guide covers every major piece of equipment: levelers, vehicle restraints, overhead doors, seals and shelters, and bumpers. For each one, you’ll find what to look for, what you can reasonably handle in-house, and — just as important — where to stop and get a professional involved.
One thing before we start: follow your manufacturer’s instructions throughout. Spring adjustment, cable work, major hydraulic repairs, electrical panel work — these aren’t DIY tasks. The guide flags those moments clearly as they come up.

A Simple Framework to Work From
Before getting into the equipment specifics, it’s worth having a repeatable process. Without one, inspections turn into walkthroughs where people look at things but don’t really see them. Here’s the framework we’d recommend:
Clean → Lubricate → Adjust → Inspect → Document
Work in that order every time. Clean first, because you can’t spot a crack or a weeping hydraulic line through a layer of grime. Lubricate before you inspect operation — a dry hinge sounds worse than it is. Adjust what you can. Then inspect with fresh eyes. And write it down, because an inspection with no record is just a walk.
It sounds almost too simple. But the consistency is the point.
Safety and Tools: Get This Right Before Anything Else
The basics aren’t optional
Close overhead doors and cut power to door operators before you start working on them. Lockout/tagout on any electrically powered equipment — not as a formality, but because stored energy in dock equipment can hurt people. Keep forklifts and trailer traffic out of the area while the work is happening.
PPE: safety glasses, gloves, steel-toed boots. Not negotiable.
And look — some of what you’ll find in this guide has a hard line around it. Springs, cables, major hydraulic repairs, and electrical panel work. Those require a qualified technician, full stop. The stored energy in a torsion spring isn’t something to experiment with. This guide will flag those moments when they come up; take them seriously.
What to bring
You don’t need much for a solid spring inspection. A broom and shop vac for debris, degreaser and rags for cleaning, a decent flashlight for getting into corners. Manufacturer-approved lubricant — check your owner’s manual, because using the wrong product on seals or hydraulic components can create new problems. Basic hand tools. A phone for photos. Something to write on.
That’s genuinely it.
Do the Walkthrough First
Resist the urge to go straight to the leveler pit. Spend 10–15 minutes doing a full visual pass of the dock area before touching anything. You’d be surprised what jumps out when you’re actually looking.
Walk the approach and floor. Are there slick spots? Standing water? Piles of sand and ice melt residue that have been sitting since February? That stuff doesn’t go away on its own, and it becomes a slip hazard the moment a dock worker is moving fast.
Look at the concrete dock face. Cracks, spalling, rust staining — rust staining in particular is worth flagging because it usually means something’s corroding behind the surface, whether that’s rebar or failing fasteners. Check that bumpers are in place and actually intact. Make sure safety signage is still legible; dock environment is hard on decals and they get painted over more than anyone tracks.
This pass takes almost no time and occasionally turns up the most obvious problem of the day.
Dock Levelers

The pit is where to start
If there’s one place winter leaves a mess, it’s the dock leveler pit. Debris packs in over months of use, meltwater drains down there, and it just sits. Clear everything out — and when you’re doing it, actually look at what you’re clearing. Rust flakes, standing water, drainage blockages — these aren’t just cosmetic. A pit that holds moisture all year is quietly corroding the leveler frame from the bottom up.
Poor pit drainage is one of those slow problems that seems manageable until you’re looking at a structural repair estimate.
Deck, lip, and the pieces people miss
Once the pit is clear, work up to the deck and lip. Look for surface cracks, deformation, and uneven wear — a leveler that’s taking asymmetric loads often shows it in the wear pattern before it shows it anywhere else. Cycle the lip: it should extend fully and retract cleanly, with no hesitation or grinding.
The hinge points are worth a long look. Rear hinge, lip hinge — run your flashlight along the welds. A hairline crack at a weld is easy to miss in passing and significant to find before it becomes a full break. Toe guards and safety legs should be present, undamaged, and working as intended. Check them; they’re not decorative.
Hydraulic, air, and electrical systems
For hydraulic dock levelers, look for weeping fluid around hose connections, cylinders, and fittings. A small seep is an early warning; by the time fluid is dripping, the problem has been there a while. Check the fluid level per the owner’s manual — low fluid typically means slow or uneven operation, and it usually means there’s a leak somewhere upstream.
On the electrical side: open the junction box and look for moisture and corroded connections. A wet winter tends to find every gap in a seal, and a corroded terminal can cause intermittent operation that’s maddening to diagnose after the fact.
Then cycle the leveler and watch it. A leveler that’s working right moves smoothly and evenly. Anything sluggish, jerky, or hesitating at the lip tells you something worth investigating.
When to pull it out of service
Some findings aren’t “monitor and revisit.” Cracked or broken welds on the deck or frame, abnormal sagging or deformation, recurring hydraulic leaks, a lip that won’t fully extend or retract — any of these should take the leveler out of service until a qualified technician has a look. Running damaged dock equipment isn’t a calculated risk, it’s just an expensive mistake waiting to happen.
Vehicle Restraints

Run it before you inspect it
The most useful thing you can do at the start of a restraint inspection is cycle the unit — engage the hook or bar, then release it — and actually watch what happens. A restraint that binds, hesitates, or doesn’t fully engage is telling you something. You want to see smooth, unobstructed movement through the full range.
While you’re at it, clean out the track. Ice melt debris and winter grime packed into a restraint track is genuinely one of the most common causes of sluggish operation, and it’s one of the easiest things to fix.
What corrosion looks like after winter
Once the unit is clean, look at the hook, track, housing, and fasteners with fresh eyes. Rust that was hidden under a layer of road salt and grime often becomes obvious once things are cleaned up — and a restraint with significant corrosion on the hook or mounting hardware isn’t something to leave for next month. Check that covers and guards are intact. Confirm the indicator lights on the control box are working and visible from outside the dock — a driver who can’t see the status light is a problem waiting for the wrong moment.
Write it down
Trailer restraint inspection records are probably the most commonly skipped documentation item at the dock. And they tend to be the first thing an auditor or insurance investigator asks for. Log the date, the unit ID, what you found, what was repaired, what’s still pending. It takes two minutes and it matters.
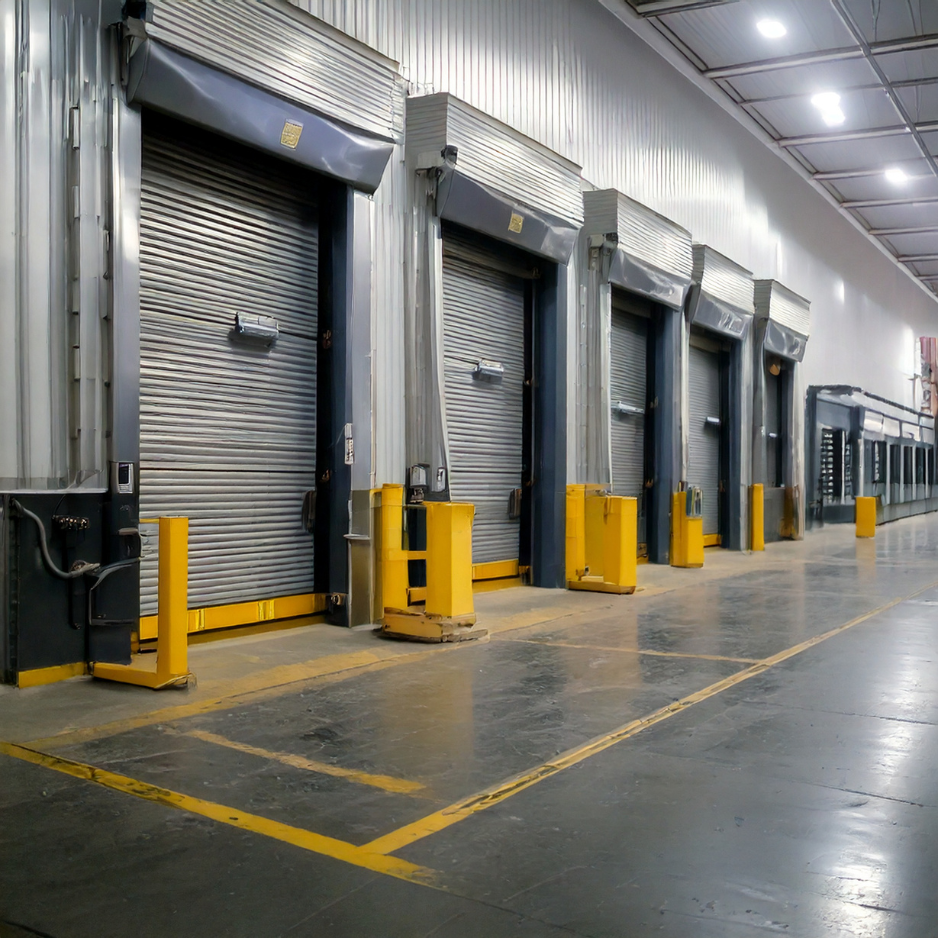
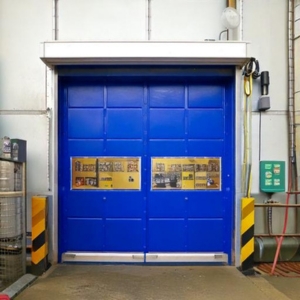
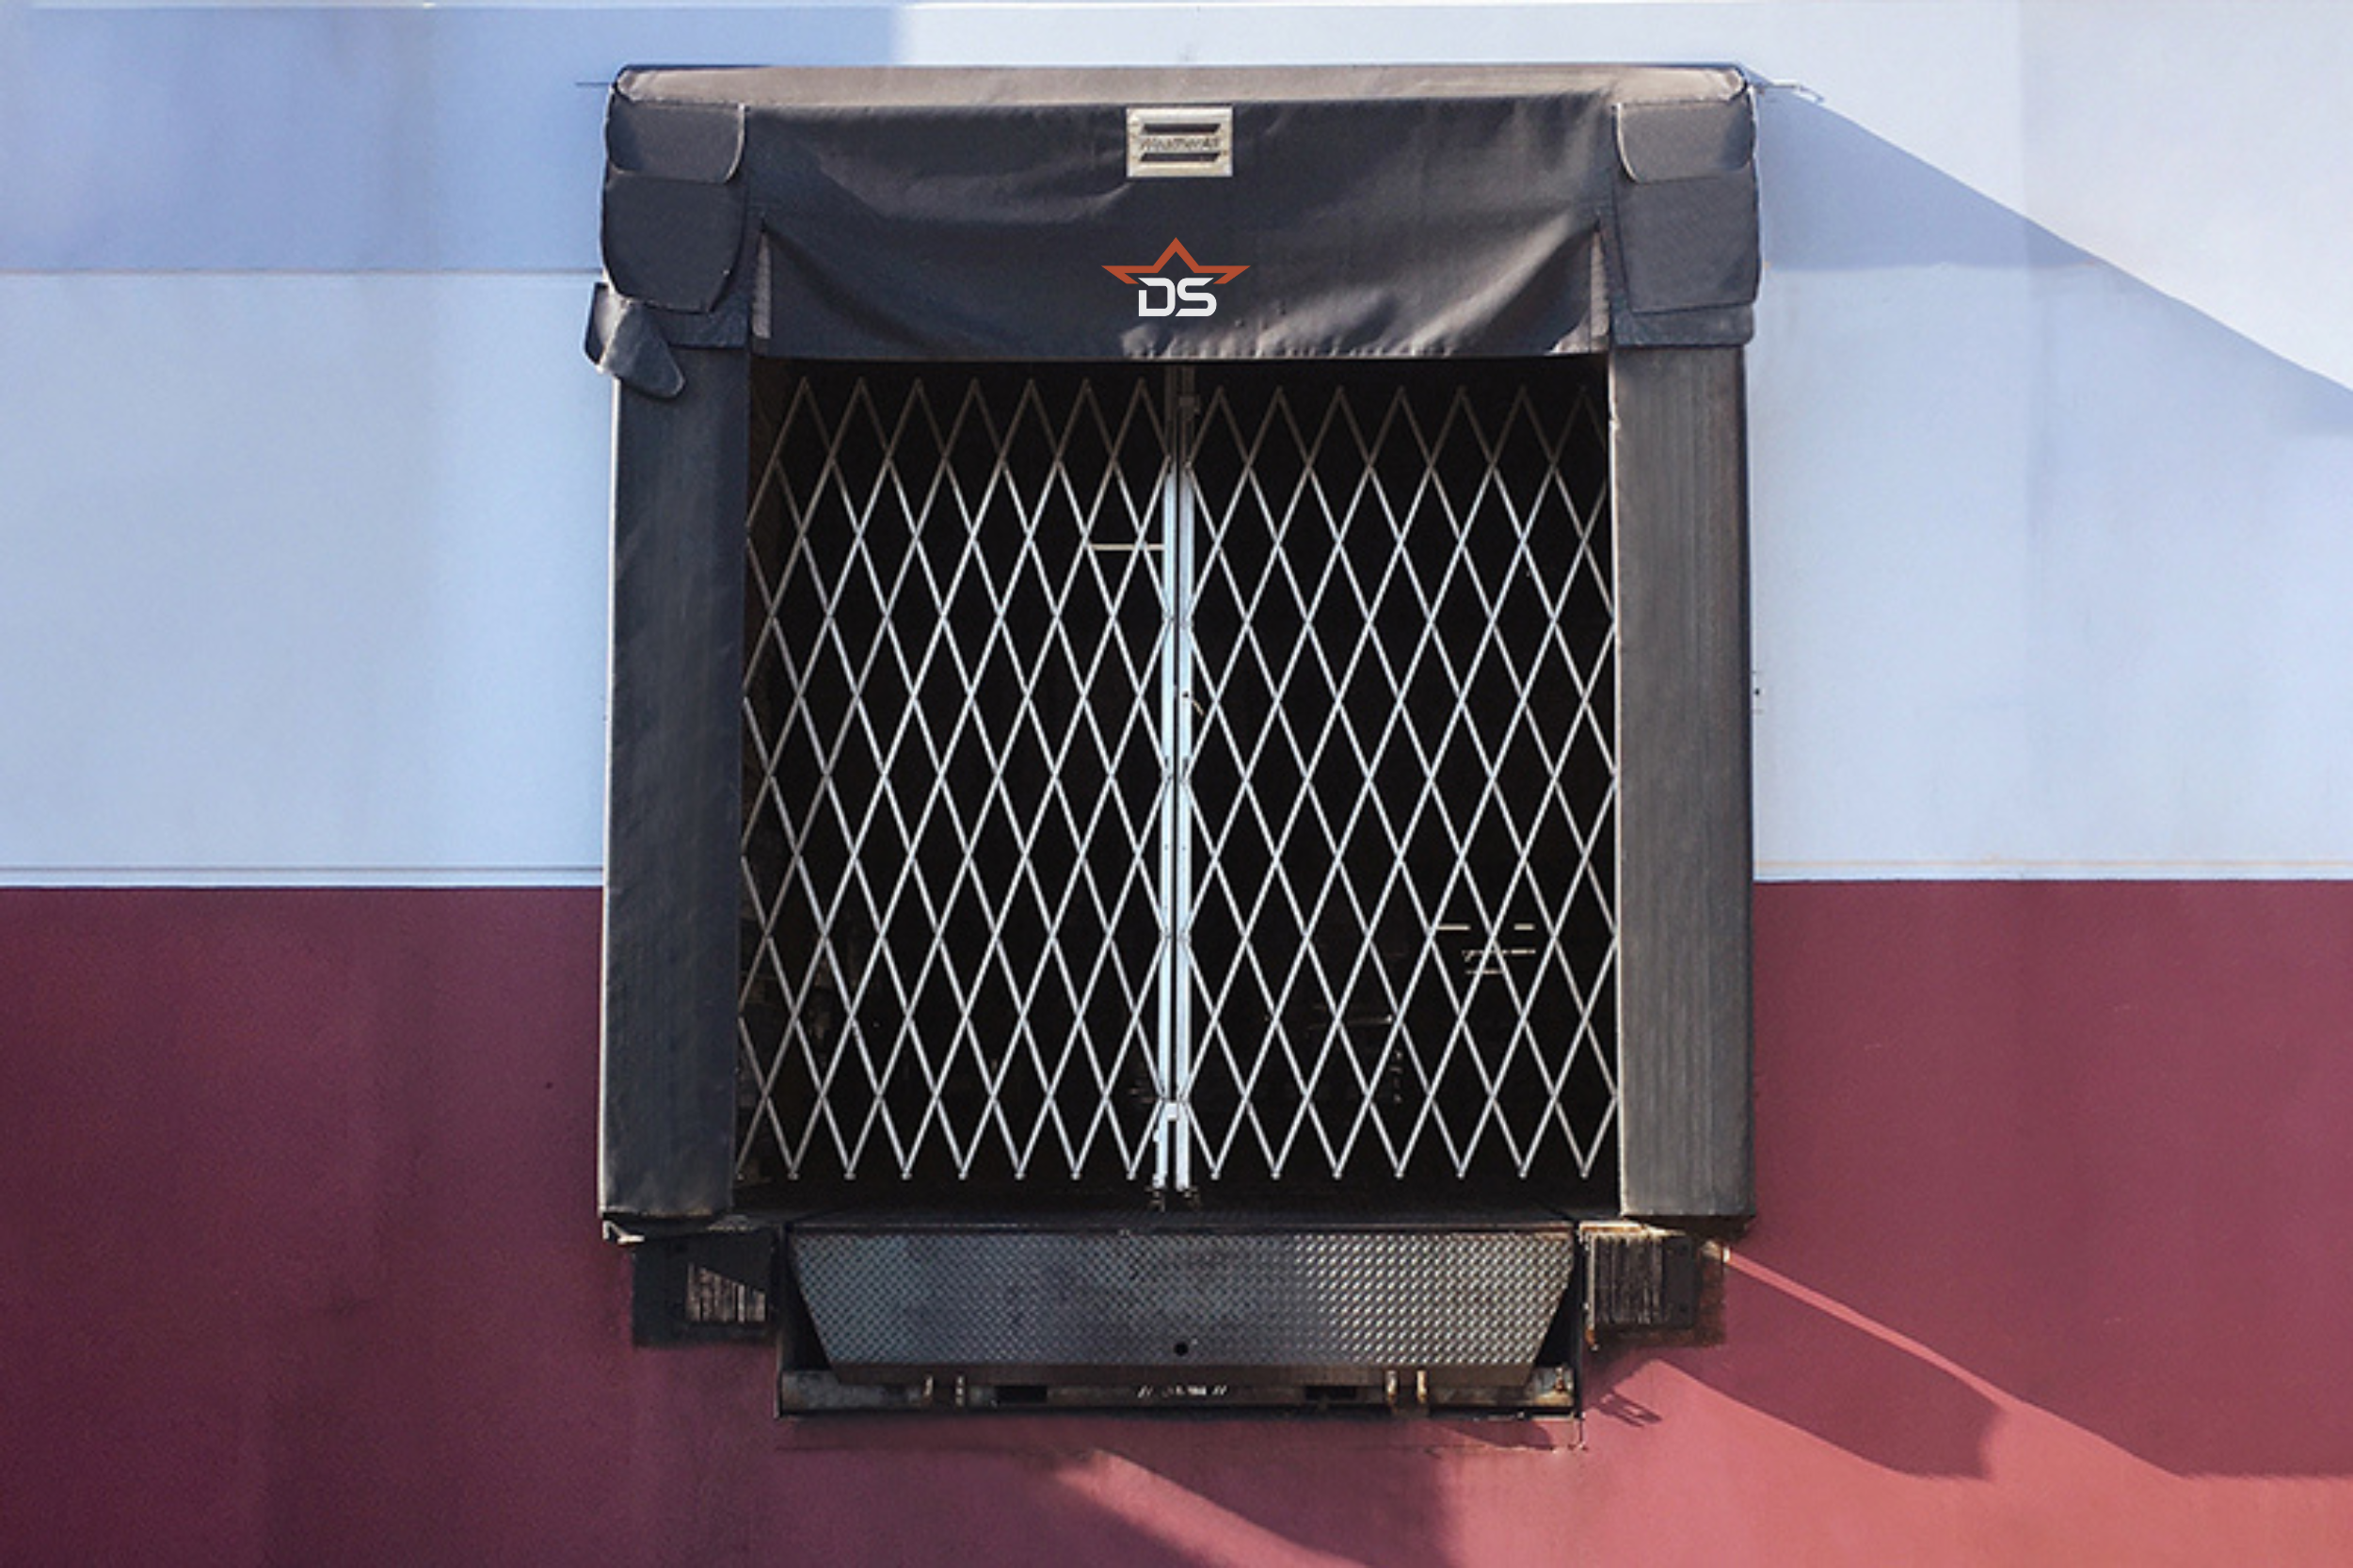
Dock Doors (Sectional, Rolling Steel, and High-Speed)

Start with your eyes
Panel damage, track alignment, rust on hardware and edges, weather seals — do a slow visual pass before touching anything. A hard winter of heavy trailer traffic and temperature swings leaves marks. Dented panels are usually cosmetic; a bent or separated track is a bigger deal. Weather seals get brittle in cold weather and crack. A cracked bottom seal isn’t just an energy problem — it’s an open invitation for pests, and it’ll let in water every time it rains.
Seals are cheap. Replacing them now costs a fraction of what you’ll spend on the pest control or the energy bill.
Lubrication — and one thing not to do
Lubricate rollers, hinges, and bearings with whatever your manufacturer recommends. This is one of those steps that pays dividends for months.
Here’s the thing a lot of people get wrong: don’t lubricate the springs or cables. It seems like it would help, but lubrication on torsion springs can cause them to slip, and a slipping spring is more dangerous than a dry one. Leave them alone.
Cycle the door several times after lubricating. Listen — grinding and squealing after fresh lubrication usually means a worn roller or a track alignment issue, not a lubrication problem. Watch for smooth, even travel top to bottom. If it hesitates or drags at any point, that’s worth marking for follow-up.
Don’t skip the safety test
If the door has an auto-reverse system, test it. Place a 2×4 flat on the floor in the door’s path, close the door, and it should reverse on contact. If it doesn’t, stop using that door until it’s fixed. Clean the photo eye lenses with a dry cloth and double-check alignment — most units have an indicator light that’ll tell you if they’re out.
For springs and cables: look at them, but don’t touch them. Frayed cable strands, broken spring coils, uneven tension — if you see any of it, the door comes out of service until a technician handles it. Springs store a remarkable amount of energy and cause serious injuries every year when untrained people try to adjust them. It’s not worth it.
Red flags that need a pro
Bent or separated tracks. A door that slams, drops suddenly, or jerks through part of its range. A bottom gap that won’t close even after you replace the seal. These problems tend to get worse with use, not better. Call someone.
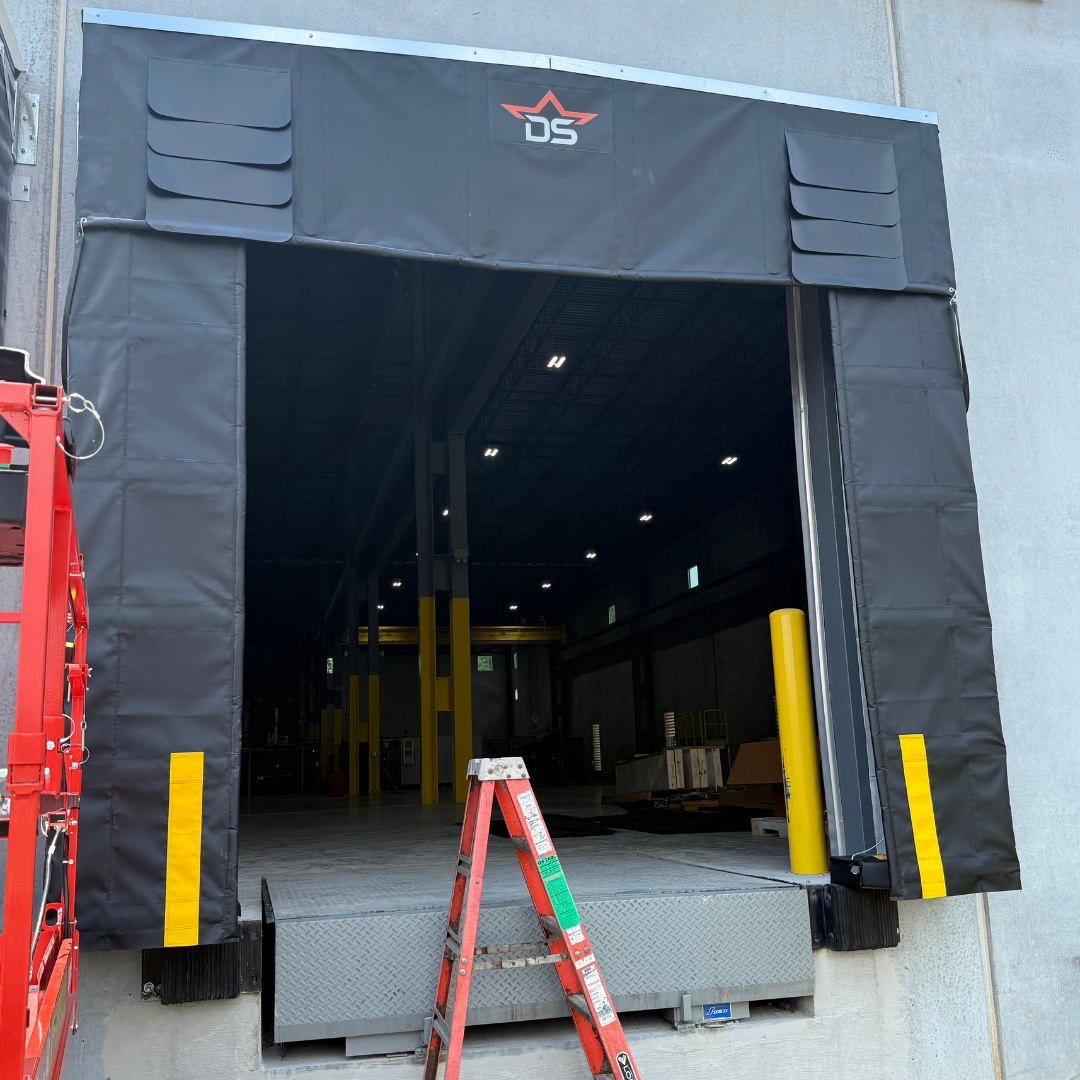
Dock Seals and Dock Shelters

What you’re actually looking for
Dock seals and shelters don’t fail dramatically — they just gradually stop working. A foam pad that was 8 inches thick is now 3 inches thick and compressed into a permanent shape. Fabric that had no tears now has a 6-inch rip from a trailer mirror. You often don’t notice until someone stages a trailer and there’s a visible gap letting in cold air and whatever’s living outside.
Inspect the foam pads on seals for compression, tears, and detachment. On shelters, check the fabric curtains and pleats for tears, punctures, and seam separation — seams fail before the fabric does, usually. Look at every fastener and anchor point. One missing bolt changes how the whole unit absorbs trailer contact.
The practical test: stage a standard trailer and actually look at the seal contact line. Gaps mean problems. If you’re seeing gaps consistently across multiple trailers, the pads or curtains have probably hit the end of their useful life.
Cleaning and fixing what you can
Wash the fabric and foam surfaces. Road grime builds up over winter, and any moisture that sat under that grime through spring thaw creates ideal conditions for mold. Small tears in fabric — patch them now. A 3-inch tear that gets hit by a trailer becomes a 12-inch tear, then becomes a replacement job.
For inflatable or powered shelters: run the inflation system weekly during the season to confirm it’s working. Check the blower for debris and look at the seals around the power unit for any moisture intrusion.
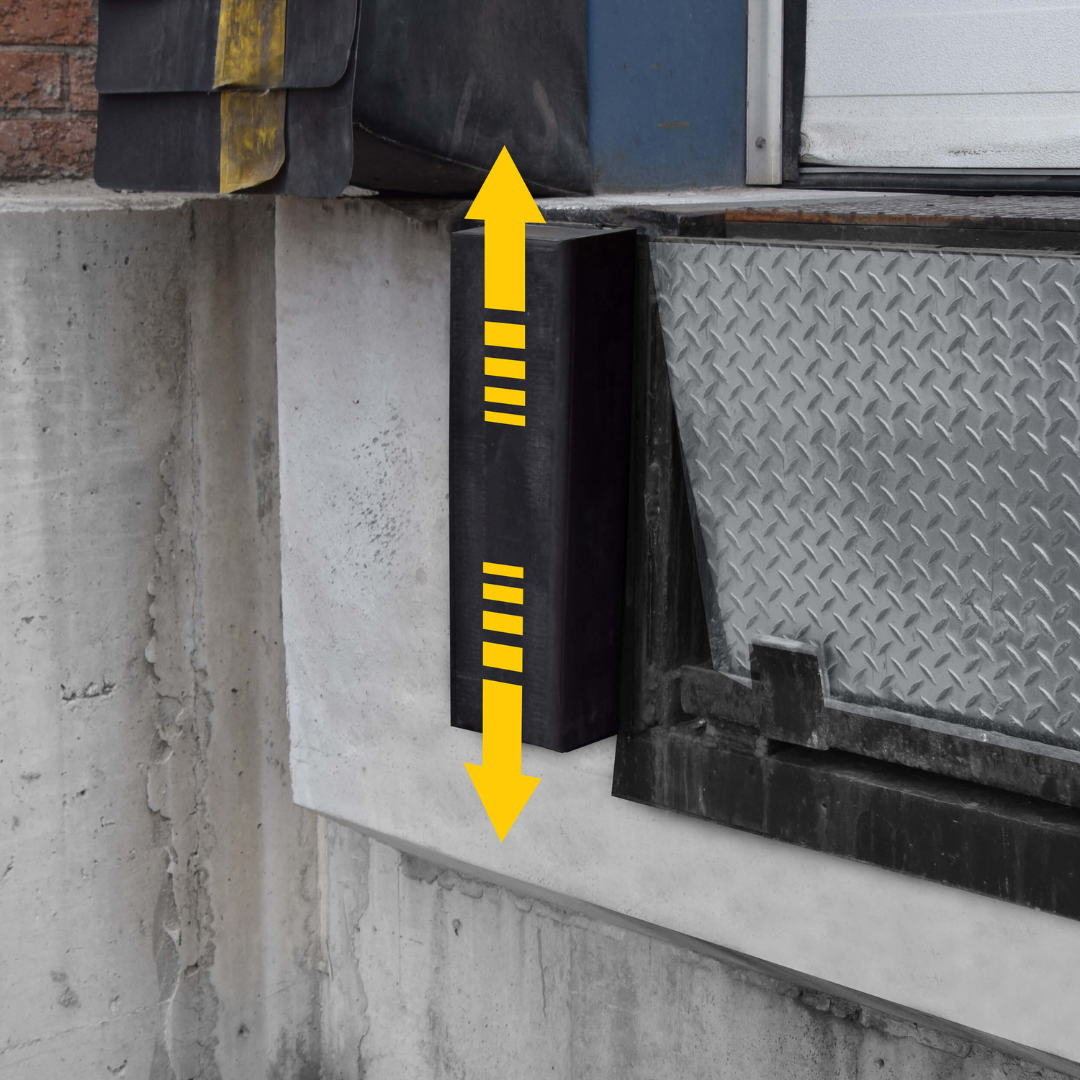
Dock Bumpers

Loading dock bumpers might be the single most overlooked item on any dock maintenance list. They’re unglamorous. They just sit there. And when they fail, the consequences are slow and structural — concrete cracking at the dock face, misaligned levelers, damage to the building frame — rather than sudden and obvious.
By the time someone notices the bumpers are gone, the dock face is already in bad shape.
How to tell when they’re done
Cracks through the rubber face are the most visible sign. But the one people miss is compression. A bumper that’s compressed more than roughly half its original depth isn’t doing much absorbing — it’s just a spacer. If the rubber sits nearly flush with the dock face, it needs to be replaced.
Look also for bumpers that are pulling away from their mounting hardware. Chunks missing from impact. And the definitive sign: if you can see the steel dock face behind or around the bumper, protection is effectively gone. Whatever’s making contact is hitting the building.
Check the concrete while you’re there
Look at the concrete around the bumper mounting points. Cracking or crumbling near the anchor bolts means impact loads have been transmitting directly into the structure — which tells you the bumpers have been underperforming for a while. Rust staining around the hardware is worth probing; fasteners can be corroding behind the surface even when the face looks intact, and a corroded anchor is just waiting for one hard hit.
A Few More Checks Worth Five Minutes
Some things don’t fit neatly into an equipment category but come up often enough in dock accidents and near-misses that they’re worth building into any spring walkthrough.
Red/green communication lights seem simple enough that people assume they’re fine. But a burned-out light — or one that’s sun-bleached to the point of invisibility from a cab window — can lead to a driver pulling away while the leveler is still deployed. Test both states and verify the lights are actually visible from the driver’s seat at the approach.
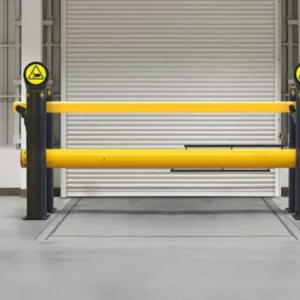
Barriers, safety gates, and dock chains absorb a lot of winter impact and rarely get inspected. Bent posts, loose anchor points, cracked welds — look for them. And check whether they’re actually being used. A gate that nobody’s using isn’t protecting anyone.
General housekeeping isn’t glamorous, but it belongs in a spring walkthrough. Clutter near the dock edge, old fluid spills, wheel chocks that have somehow ended up in a corner somewhere — this is the stuff that creates slip-and-fall incidents and near-misses on otherwise normal days.
Turning This Into a System
Doing a thorough spring inspection is a good start. But honestly? The docks that hold up best year after year aren’t the ones with the best equipment — they’re the ones with the most consistent maintenance habits. There’s a difference.
Here’s how the frequency usually breaks down:
Daily — dock operators do a quick visual scan, handle housekeeping, clear the approach and pit area, and report visible damage immediately rather than assuming someone else will handle it.
Weekly — run levelers, restraints, and doors through full cycles. Listen. Watch. Note anything that’s changed since the last check.
Monthly — full lubrication pass, detailed inspection of all components, and photo documentation of anything that’s developing. Photos are underrated for tracking slow-moving problems.
Quarterly and annually — professional service inspection with documented findings. Load testing, hydraulic service, anything requiring certifications or specialized equipment.
Who owns what
Here’s the honest problem with most dock maintenance programs: everyone assumes someone else is handling it. Dock staff think maintenance is watching the equipment. Maintenance thinks operators will flag issues. Nobody’s tracking the bumpers.
Fix it with clear ownership. Dock staff own daily visual checks and immediate damage reporting. Maintenance teams own the weekly and monthly work — lubrication, detailed inspections, documentation. Service vendors own the professional work: quarterly inspections, spring and cable repairs, hydraulic service, anything requiring credentials.
When something fails, clear ownership makes it obvious where the breakdown happened. More importantly, it usually means there wasn’t a breakdown to begin with.
Documentation: Boring, But It Matters
An inspection with no record is just a walk. When equipment fails and someone asks what the maintenance history looked like, “we do walkthroughs regularly” isn’t an answer. A dated log with findings, photos, and work order numbers is an answer.
Keep it simple enough that people will actually use it. For each inspection: dock number, equipment type, model and serial number, date, inspector name. Pass or flag. Plain-language description of any findings. Photos if anything looks off. Parts needed, work order number, next inspection date.
A binder at each dock position works fine. A shared digital form works fine. What doesn’t work is a system so complicated that people skip it or fill it in from memory at the end of the week.
Think Your Dock Equipment Passed the Inspection?
If this guide turned up worn bumpers, a leveler that’s overdue for replacement, seals that haven’t sealed properly in two winters, or doors that are held together by maintenance and optimism — that’s your sign.
Some of that gets fixed with a service call. But a lot of it means the equipment has simply run its course, and patching it further is just delaying the inevitable.
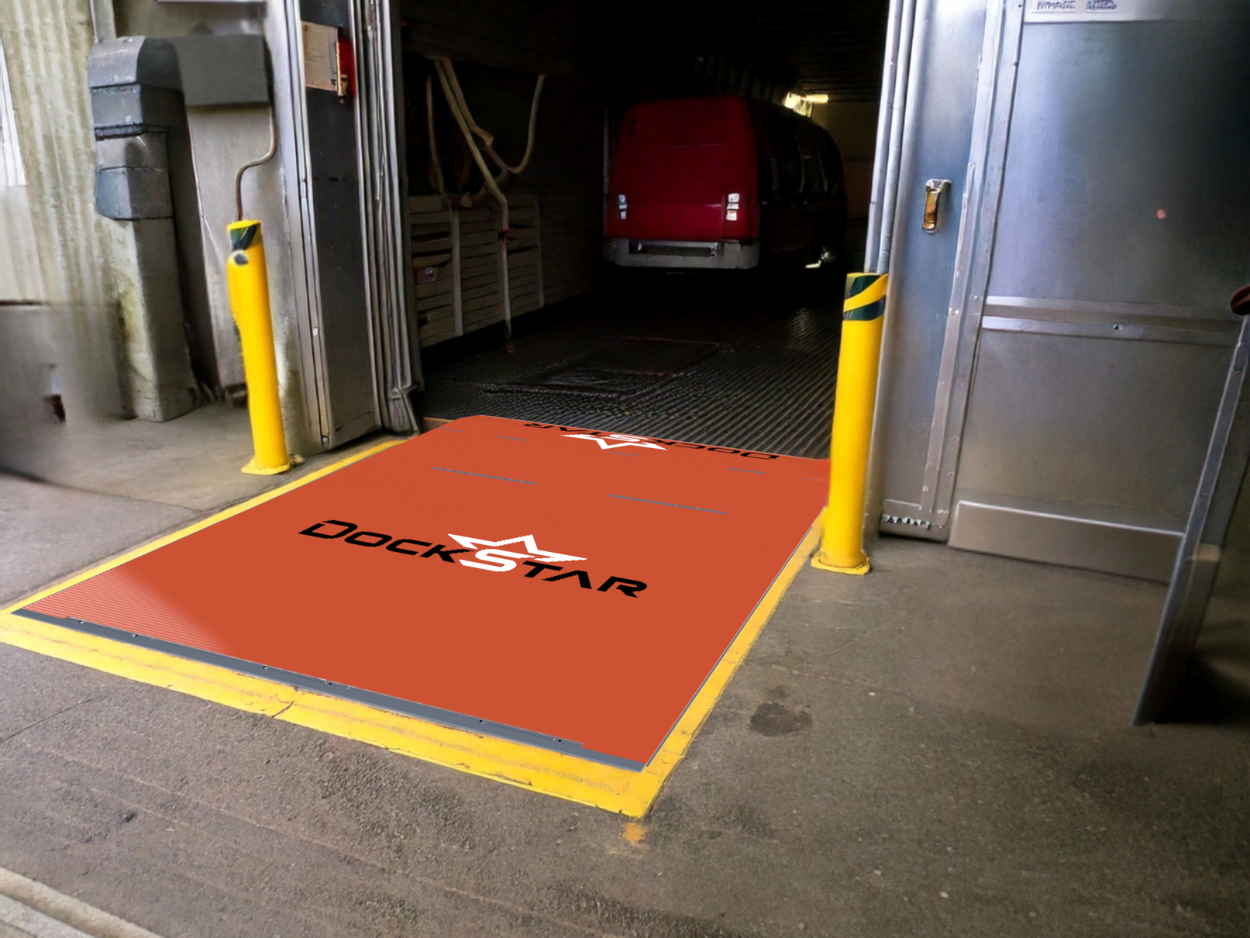
DockStar sells dock levelers, vehicle restraints, overhead doors, seals and shelters, bumpers, and everything else a busy loading dock depends on. We’ll help you figure out exactly what needs replacing, what makes sense for your setup, and what can wait.
Give us a call or request a quote — we’re happy to help you sort it out.

